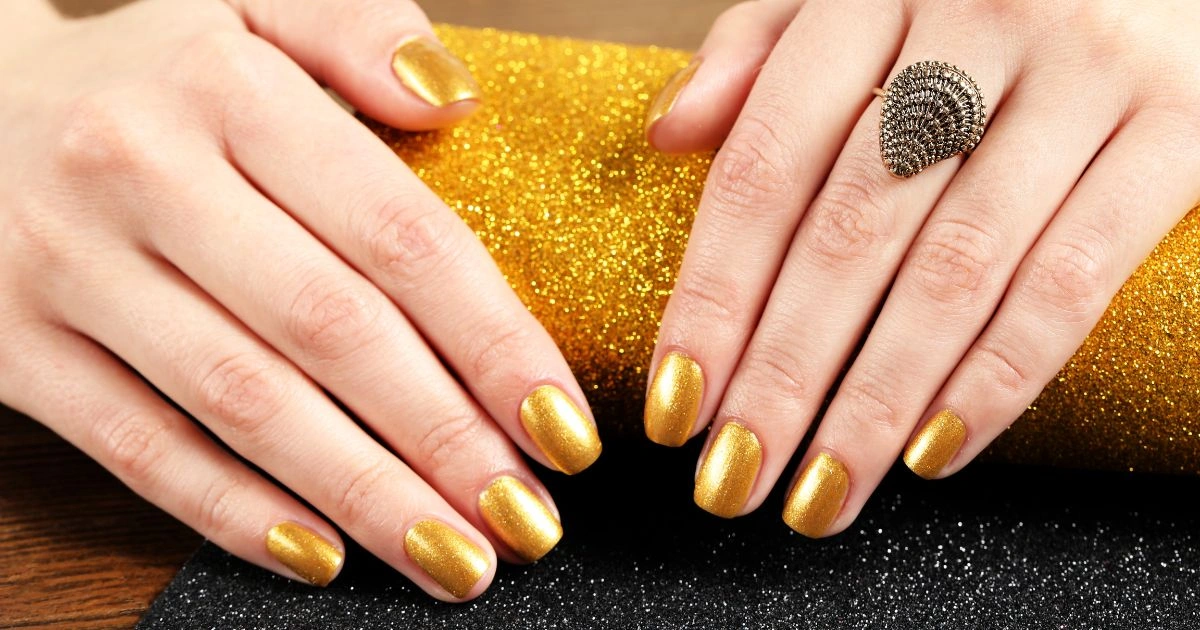
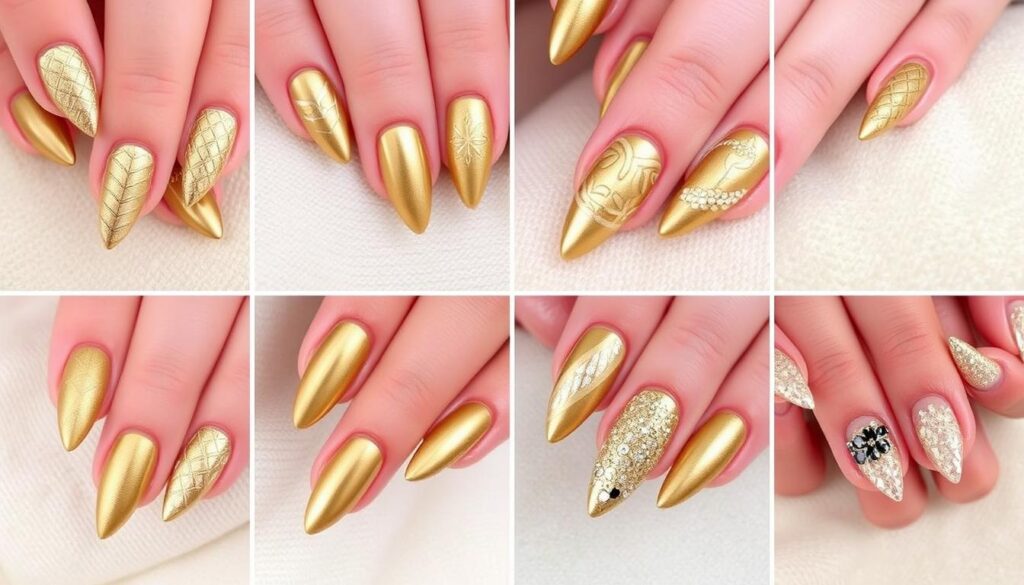
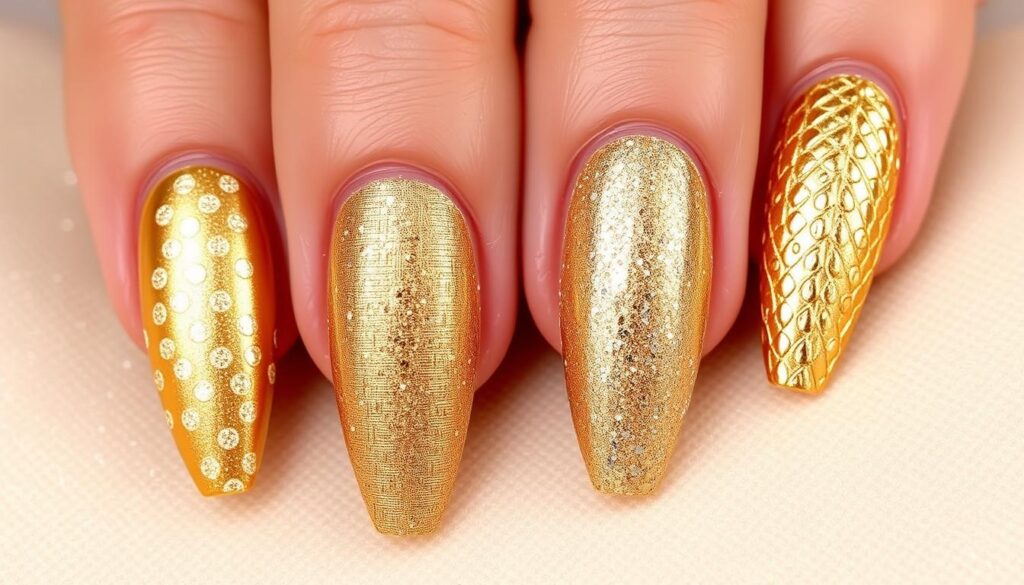
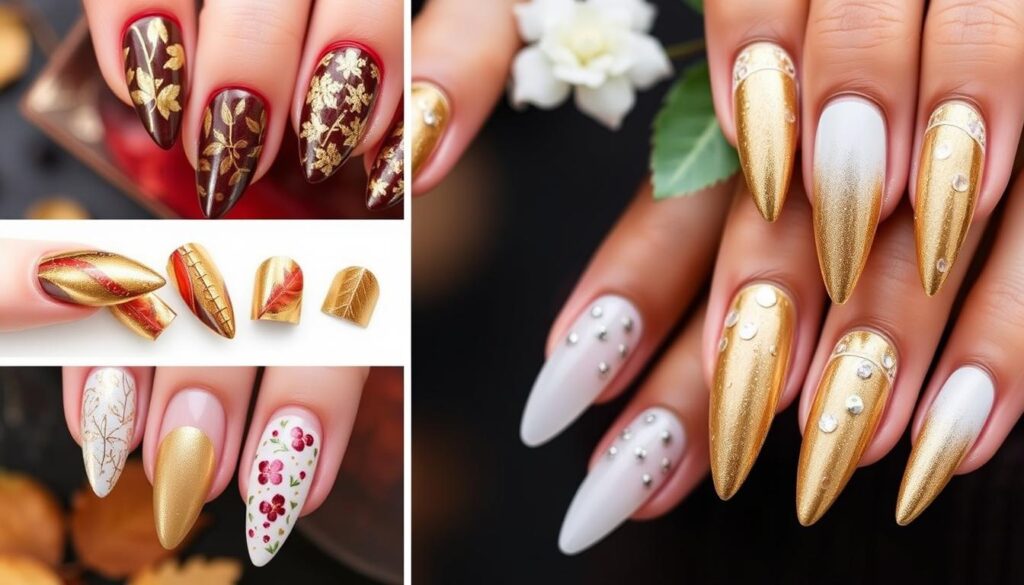
Welcome to the ultimate guide to gold nail designs. These metallic nails are the ultimate statement of luxury and style. They instantly upgrade any look.
Whether you’re getting ready for a special occasion or just want to add glamour to your daily look, gold nail art is perfect. It offers endless possibilities.
Gold nail designs range from subtle accents to bold metallic nails. They capture attention and show off your personal style. Both professional nail artists and fashion lovers have fallen in love with gold nail designs. They see it as a versatile trend that fits many styles and occasions.
Gold nail art is more than just shine. It’s about showing off your unique personality through detailed techniques and beautiful color combinations. You’ll learn how these metallic nails can take your style from ordinary to extraordinary.
Key Takeaways
- Gold nail designs offer versatile styling options
- Metallic nails provide an instant luxury aesthetic
- Techniques range from subtle accents to full coverage
- Suitable for various occasions and personal styles
- Reflects current fashion and beauty trends
Table of Contents
The Allure of Metallic Manicures
Gilded manicures turn ordinary hands into stunning works of art. They show off a person’s style and creativity. Metallic nail designs are more than just a pretty look.
Gold nails have a special appeal that crosses cultures. They say a lot about a person’s style and confidence. Choosing gold nails is like wearing a badge of luxury.
Understanding Gold’s Timeless Appeal
Gold has amazed people for thousands of years. Its bright, warm look makes it perfect for eye-catching nails. Gold nails are loved for many reasons:
- They symbolize wealth and success
- They match many skin tones
- They make any outfit better
- They shine and catch light
Historical Significance of Gold in Beauty
Gold was used in beauty by ancient Egyptians and Romans. Cleopatra even used gold in her beauty treatments. This tradition of using gold in beauty continues today.
“Gold is the color of success, achievement, and triumph.” – Unknown
Choosing gilded manicures is more than picking a nail design. It’s joining a long tradition of beauty and self-expression.
Essential Tools for Creating Gold Nail Designs
Starting your gold foil nail journey means gathering the right tools. You’ll need the perfect equipment to turn your nails into a beautiful metallic work of art.
Top nail artists say it’s key to use high-quality tools for gold nail art. Your must-have tools include:
- Gold metallic nail polishes
- Professional gold foil sheets
- Fine-tipped brushes
- Precision application tweezers
- UV/LED nail lamp
- Base and top coat made for metallic finishes
When picking out gold foil nail materials, think about quality and texture. Thin foils give a sleek look, while thicker ones create bold, textured designs.
| Tool Category | Recommended Quality | Price Range |
|---|---|---|
| Gold Foil Sheets | Professional Grade | $10-$25 |
| Precision Brushes | Ultra-Fine Tip | $8-$20 |
| Base/Top Coat | Metallic Specialized | $12-$18 |
“The right tools can transform your nail art from amateur to professional in minutes.” – Professional Nail Artist
Knowing about nail art tools helps you create stunning gold designs with ease. Try out different techniques and tools to find your own style.
Gold Foil Application Techniques
Getting good at nail art means being precise and creative, even with gold foil nails. Applying gold foil turns simple manicures into stunning nail designs that grab attention.
To get a perfect gold foil nail design, you need to prepare well and be very careful. Here are the key steps to master this fancy nail art.
Preparing Your Nails for Foil
Getting your nails ready for gold foil is very important. Follow these steps:
- Clean nails with alcohol-based cleanser
- Gently push back cuticles
- Buff nail surface lightly for smoothness
- Apply thin base coat for better adhesion
Step-by-Step Application Guide
Here’s how to apply gold foil to your nails:
- Choose high-quality gold foil sheets
- Apply thin layer of nail adhesive
- Use tweezers to place foil carefully
- Press and smooth out wrinkles gently
Sealing and Protection Methods
Keep your gold foil nail art looking great with these tips:
| Protection Method | Benefit |
|---|---|
| Top Clear Coat | Prevents foil chipping |
| Gel Sealant | Extends design longevity |
| Thin Protective Layer | Maintains metallic shine |
“Nail art is not just decoration—it’s a form of personal expression.” – Professional Nail Artist
With practice and patience, you’ll make amazing gold foil nails. They’ll show off your unique style and creativity.
Trending Shimmery and Glitter Combinations
Take your nail game to the next level with stunning shimmery designs. These designs turn your manicure into a masterpiece. Gold is the top choice, adding a touch of elegance to your nails.
- Holographic Gold Glitter: Create depth with multi-dimensional sparkle
- Metallic Ombre Effects: Blend different gold tones for a luxurious gradient
- Textured Contrast Designs: Mix matte and shiny gold finishes
Nail artists suggest trying out new textures for eye-catching designs. It’s all about how glitter and light play together.
| Glitter Type | Visual Effect | Best Paired With |
|---|---|---|
| Fine Gold Shimmer | Soft, Elegant Glow | Neutral Base Colors |
| Chunky Holographic Glitter | Bold, Eye-Catching Shine | Dark Base Colors |
| Micro Metallic Flakes | Sophisticated Sparkle | Pastel Base Colors |
“Nail art is the ultimate expression of personal creativity” – Celebrity Nail Artist
Your nail design should show off your personality. Whether you like subtle shine or bold glitter, there’s a gold style for you.
Professional Tips for Long-Lasting Gold Nail Designs
Creating stunning gold nail designs is more than just art. Professional nail technicians share secrets for lasting beauty. With the right techniques, your gold manicure can last and look flawless.
Selecting the Perfect Base Coat
The right base coat is key for lasting gold nail designs. Your choice affects durability and shine. Look for a base coat that:
- Smooths out nail surface imperfections
- Provides strong adhesion for gold designs
- Protects natural nail from staining
- Acts as a barrier between nail and polish
Professional Application Techniques
Applying gold nail designs needs precision and patience. Professionals suggest:
- Clean nails before starting
- Apply thin, even gold polish layers
- Let each coat dry fully
- Use smooth brush strokes
Maintenance Guidelines
Keeping your nails looking great requires regular care. Here’s a pro’s maintenance plan:
| Maintenance Step | Frequency | Purpose |
|---|---|---|
| Top coat reapplication | Every 3-4 days | Prevent chipping and maintain shine |
| Cuticle oil application | Daily | Hydrate and protect nail edges |
| Wear protective gloves | During cleaning/washing | Prevent premature wear |
“A perfect gold nail design is 90% preparation and 10% execution.” – Professional Nail Artist
Follow these professional tips to keep your gold nail designs stunning and chip-free. These expert strategies will take your manicure to the next level.
Seasonal Gold Nail Art Inspiration
Your nails can change with the seasons, making them eye-catching. Gold designs are elegant and versatile all year round.
- Spring Radiance: Soft gold shimmer with pastel accents
- Summer Glow: Metallic gold with bright, tropical undertones
- Autumn Warmth: Rich, deep gold with bronze highlights
- Winter Elegance: Crystalline gold with frost-inspired details
Each season offers a chance to try new nail designs. Gold is a luxurious base that fits any style.
“Gold nail art is not just a trend, it’s a statement of personal expression.” – Celebrity Nail Artist
| Season | Gold Nail Style | Color Palette |
|---|---|---|
| Spring | Delicate Foil Accents | Soft Pink, Mint Green |
| Summer | Bold Metallic Finish | Coral, Turquoise |
| Autumn | Matte Gold Overlay | Burgundy, Olive Green |
| Winter | Glitter Gold Gradient | Deep Blue, Silver |
Learn to make your nails look great with seasonal gold designs. Your nails will always stand out.
Combining Gold with Other Nail Art Elements
Creating stunning metallic nails is all about mixing colors, textures, and patterns. Your nail designs can go from simple to amazing by learning how to mix things up.
Color Pairing Guidelines
Gold is a versatile shade that looks great with many colors. Here are some smart color combinations:
- Deep navy blue for elegant contrast
- Soft blush pink for romantic vibes
- Emerald green for luxurious depth
- Pure white for crisp, clean aesthetics
Texture Mixing Techniques
Trying out different nail textures can make your metallic nails stand out. Here are some cool ways to do it:
- Combine matte base with glossy gold accents
- Layer metallic foil over cream polish
- Create dimension with chrome powder
Pattern Integration Tips
Adding unique patterns can make your nail art truly special. Try geometric designs, delicate marbling, and striping to enhance your gold nail art.
| Pattern Type | Best Matched Technique |
|---|---|
| Geometric Lines | Thin striping tape |
| Marble Effect | Water marbling technique |
| Abstract Shapes | Hand-painted details |
Pro tip: Always start with a quality base coat to ensure your metallic nail designs remain flawless and long-lasting.
By blending colors, textures, and patterns well, you’ll show off your style and creativity in your nail art.
Conclusion
Your journey through luxurious nail trends doesn’t end here. Gold nail designs offer an unparalleled opportunity to transform your personal style with a touch of elegance. Whether you’re a nail art novice or a seasoned professional, these metallic masterpieces can elevate your aesthetic from ordinary to extraordinary.
Experimenting with gold nail designs allows you to explore creativity while maintaining a sophisticated edge. Each technique you’ve learned—from foil applications to glitter combinations—provides a unique canvas for self-expression. Remember that nail art is not just about decoration, but about crafting a statement that reflects your individual personality.
The versatility of gold ensures that your manicures remain timeless and chic. By understanding color pairings, application methods, and maintenance techniques, you can create looks that transition seamlessly from casual daytime settings to glamorous evening events. Your newfound knowledge empowers you to craft nail designs that are truly remarkable.
As you continue to explore the world of nail art, let gold be your inspiration. Embrace the luxurious nail trends that speak to your style, and don’t be afraid to push boundaries. Your nails are a personal canvas, waiting to showcase your unique artistic vision.
FAQ
How long do gold foil nail designs typically last?
Gold foil nail designs can last 7-10 days with proper care. Use a good top coat and avoid water. Wear gloves for chores. Touch-ups keep the design looking new.
Can I create gold nail designs at home without professional experience?
Yes, you can! Start with simple designs like gold foil accents or metallic polish. Use quality brushes and dotting tools. Online tutorials can help you learn.
What base colors work best with gold nail designs?
Gold looks great with many colors. Black is dramatic, white is clean, and nude tones are elegant. Deep blues or greens add luxury. Try different colors to find your favorite.
Are gold nail designs suitable for all occasions?
Gold designs fit any event. They can be simple for work or bold for parties. Pick the right look for your style and the event.
How do I prevent gold foil from chipping or peeling?
Clean and dry nails are key. Use a good base coat and apply foil carefully. Seal with a thick top coat. Avoid using your nails and reapply top coat often.
What tools do I need to create gold nail designs?
You’ll need base coat, gold polish or foil, brushes, dotting tools, top coat, and a nail file. Nail tape and glitter are optional for more designs.
Can gold nail designs work with short nails?
Yes! Gold designs fit any nail length. For short nails, try subtle accents or a single gold nail. Simple designs can look elegant.
How do I remove gold foil nail designs without damaging my nails?
Use acetone-based remover and a cotton pad. Soak the pad on your nail for 30-60 seconds. Then, gently wipe away. Follow with cuticle oil to keep your nails healthy.


